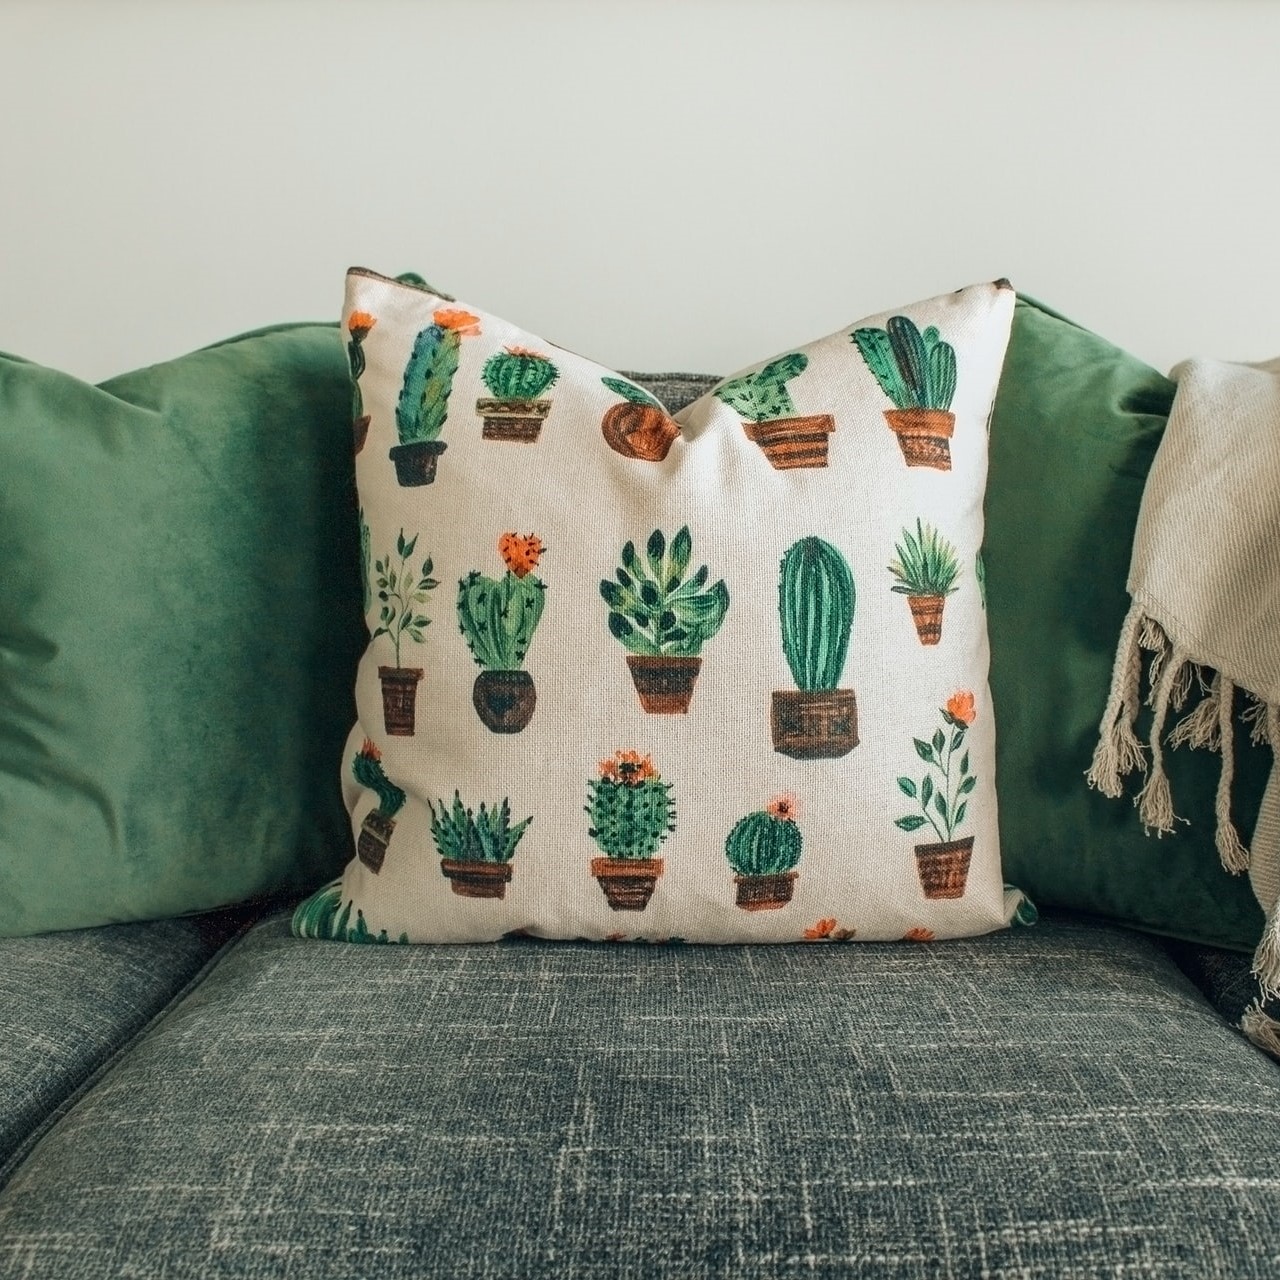
A cushion cover is a lovely beginner project that anyone can do. You don’t even need to think about fastenings.
Keep it as uncomplicated as possible to start with. No zips or buttons for the first time crafter, just go for a slip cover.
You don’t need a pattern – just a cushion pad, two fat quarters, some pins and a needle and thread.
If you have never heard the term fat quarters, they are cut fabric that measures 18 inches x 22 inches, and I have heaps in my shop of with lots of different designs.
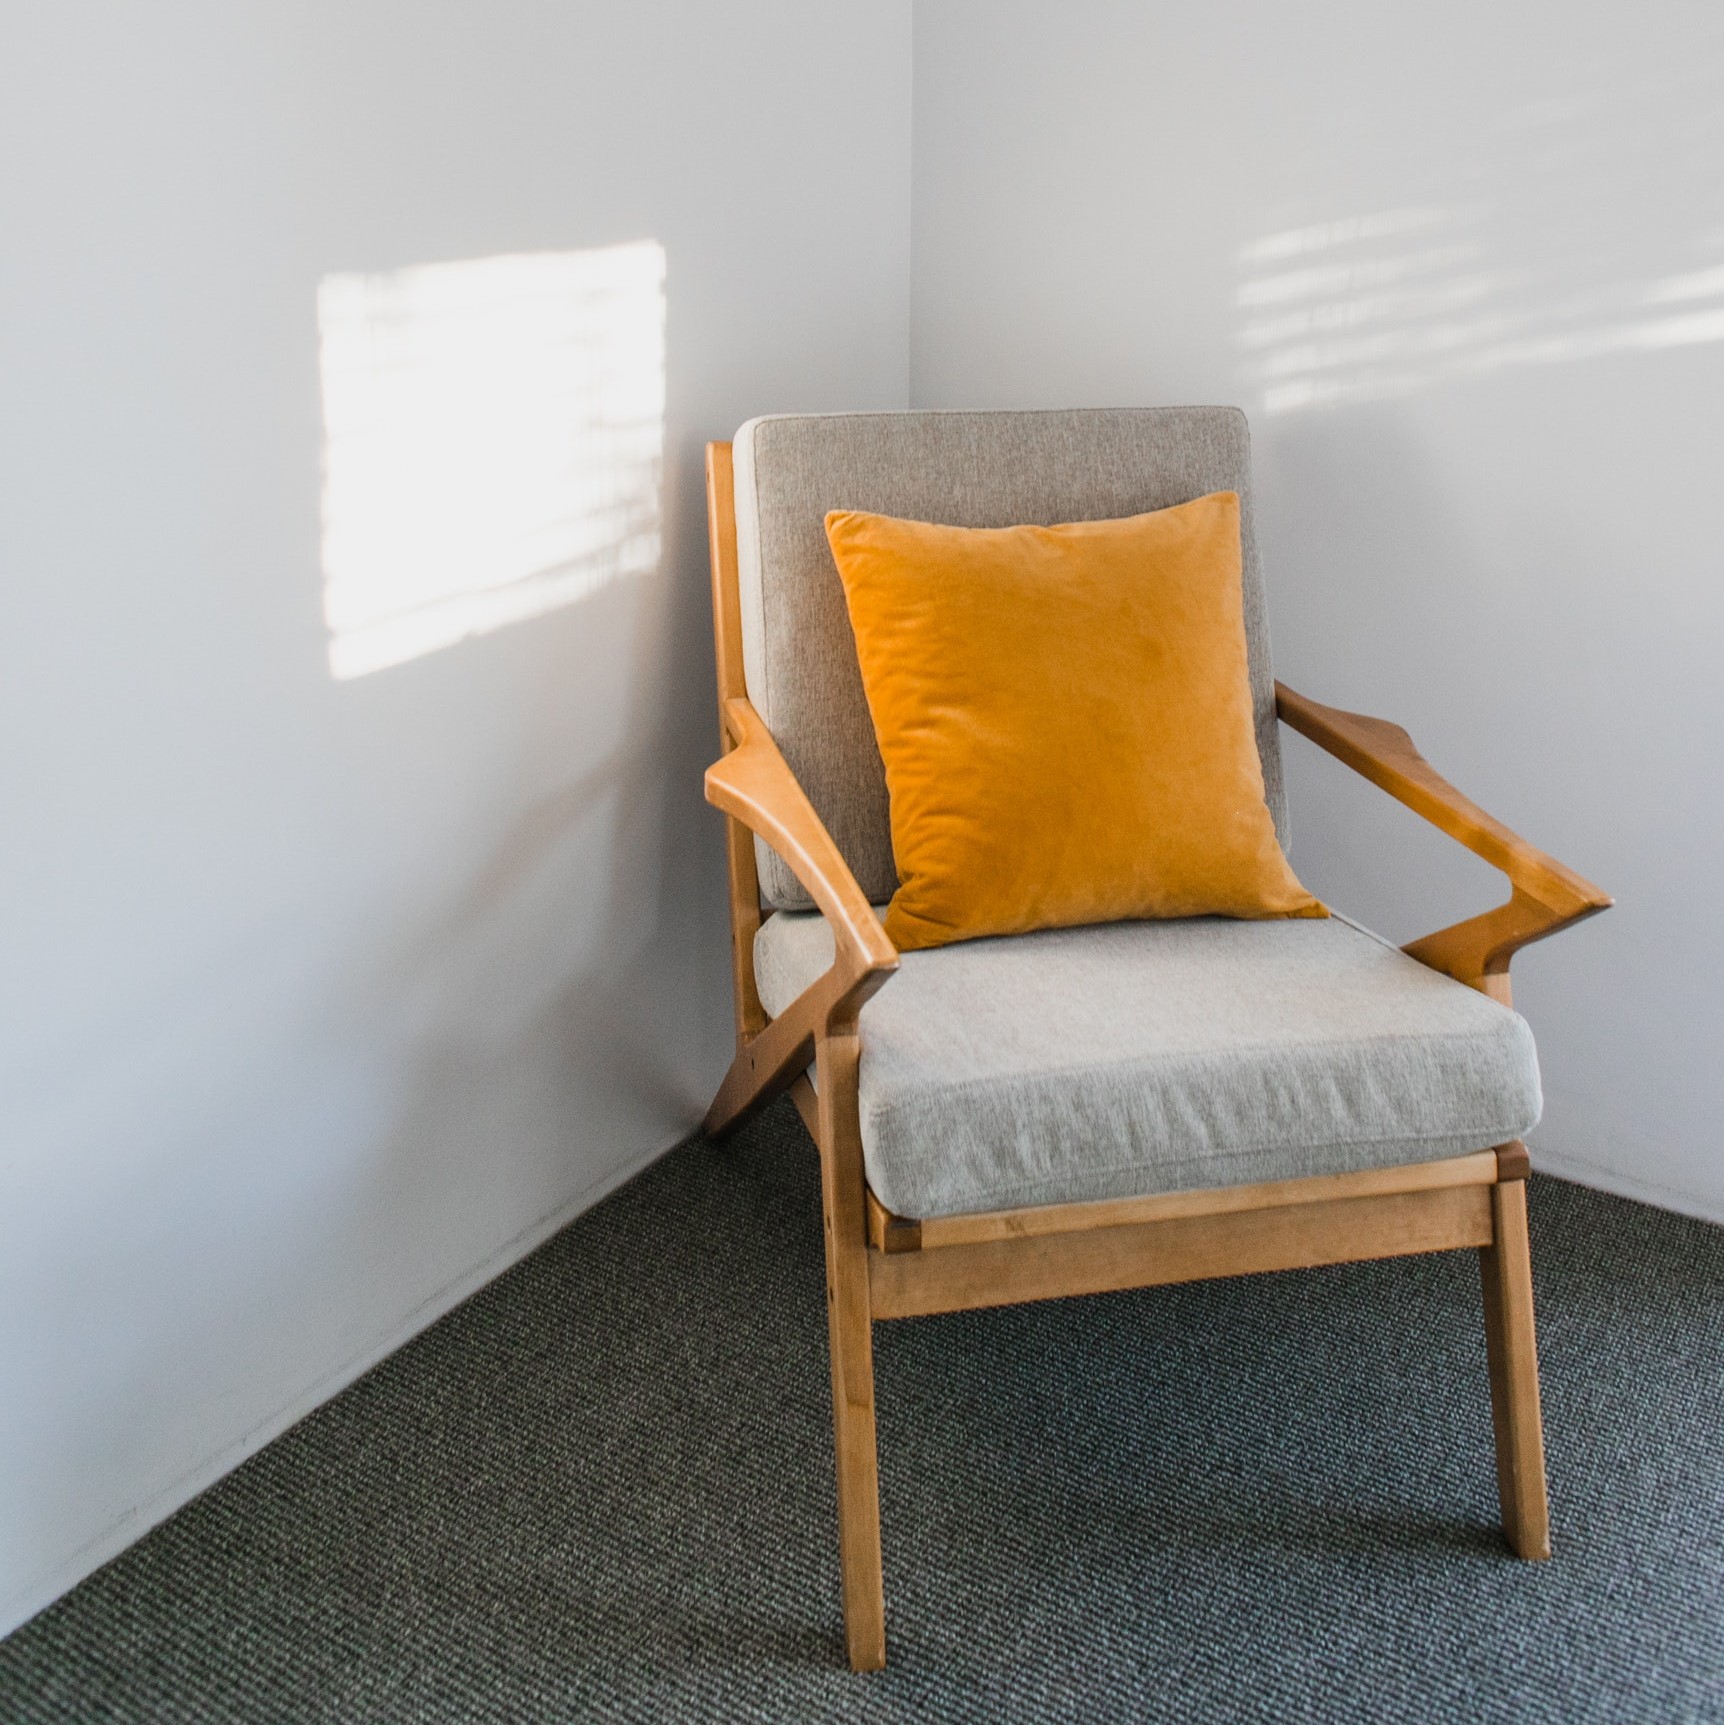
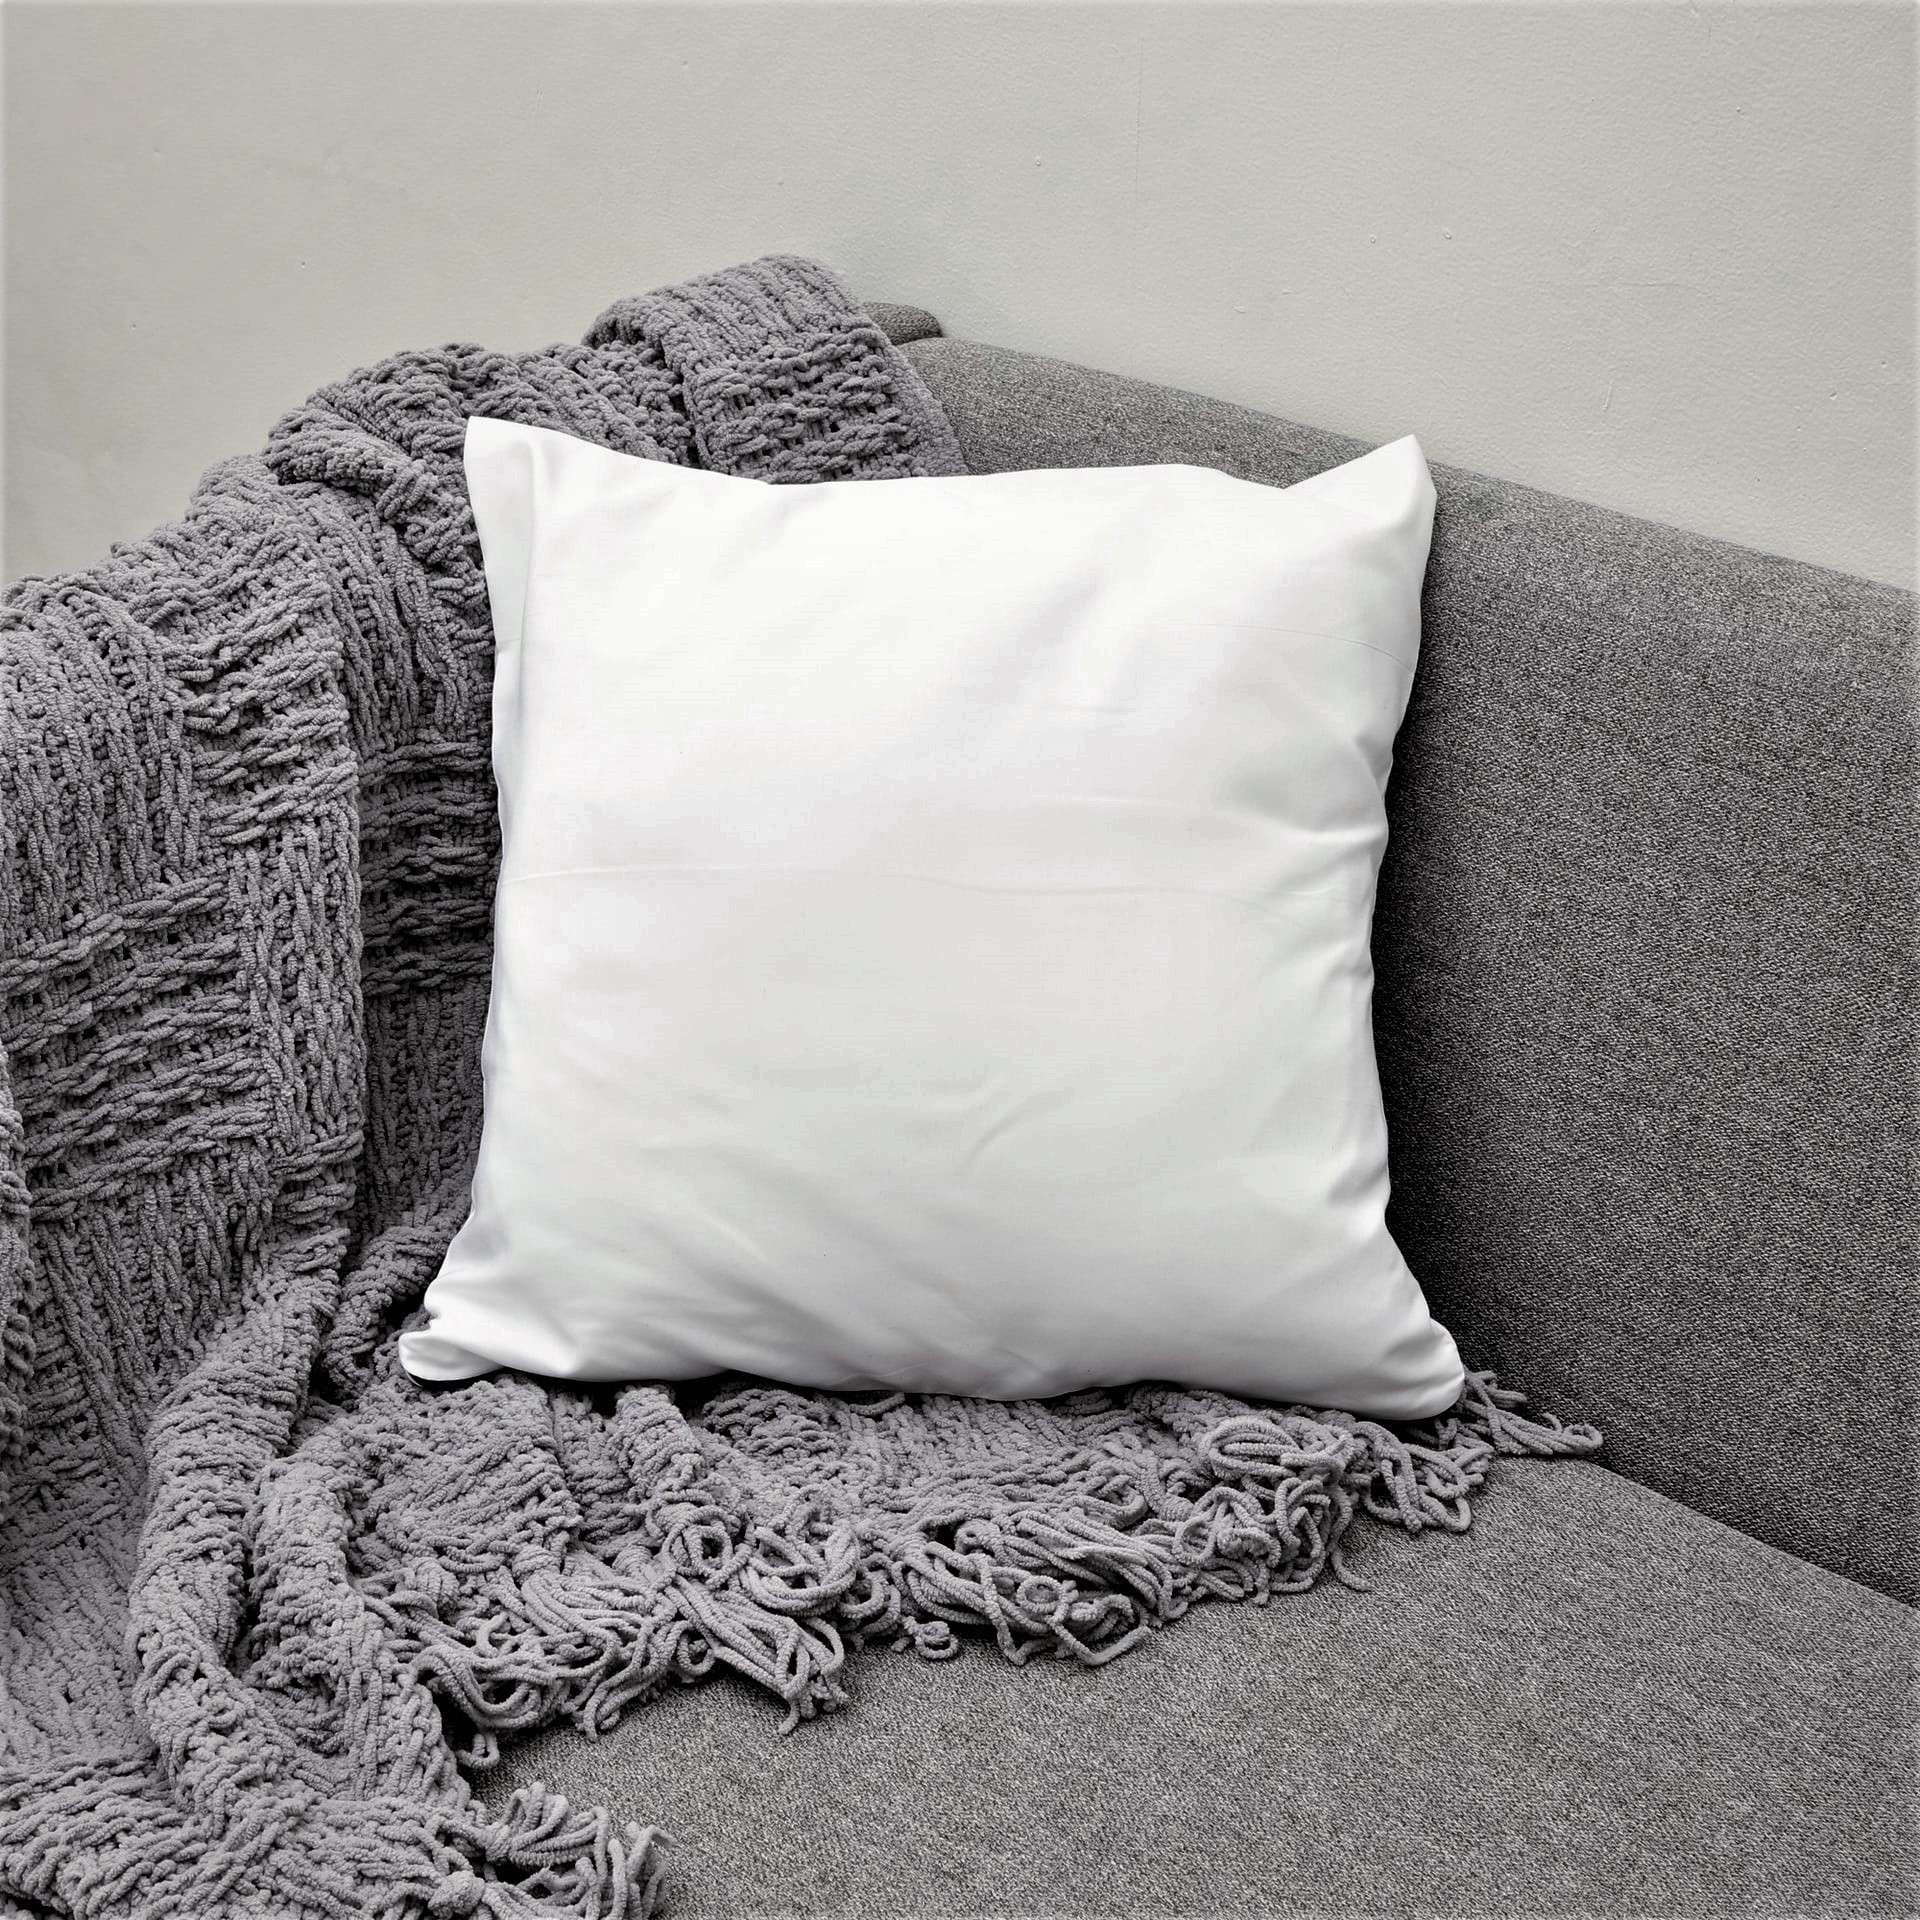
First of all choose your cushion pad. Make sure it’s smaller than your fat quarters. You can buy new cushion pads from Wilko or Dunelm and the small sizes are usually 16 or 17 inches square (43cm).
Take one of your fat quarters and lay it flat on a table with the longest side at the top. I am using a light cream coloured fat quarter.
 Now find the middle by folding it in half sideways. Mark the middle by creasing it or put a pin in the top and bottom and drawing a vertical line with a pencil. Cut down the middle.
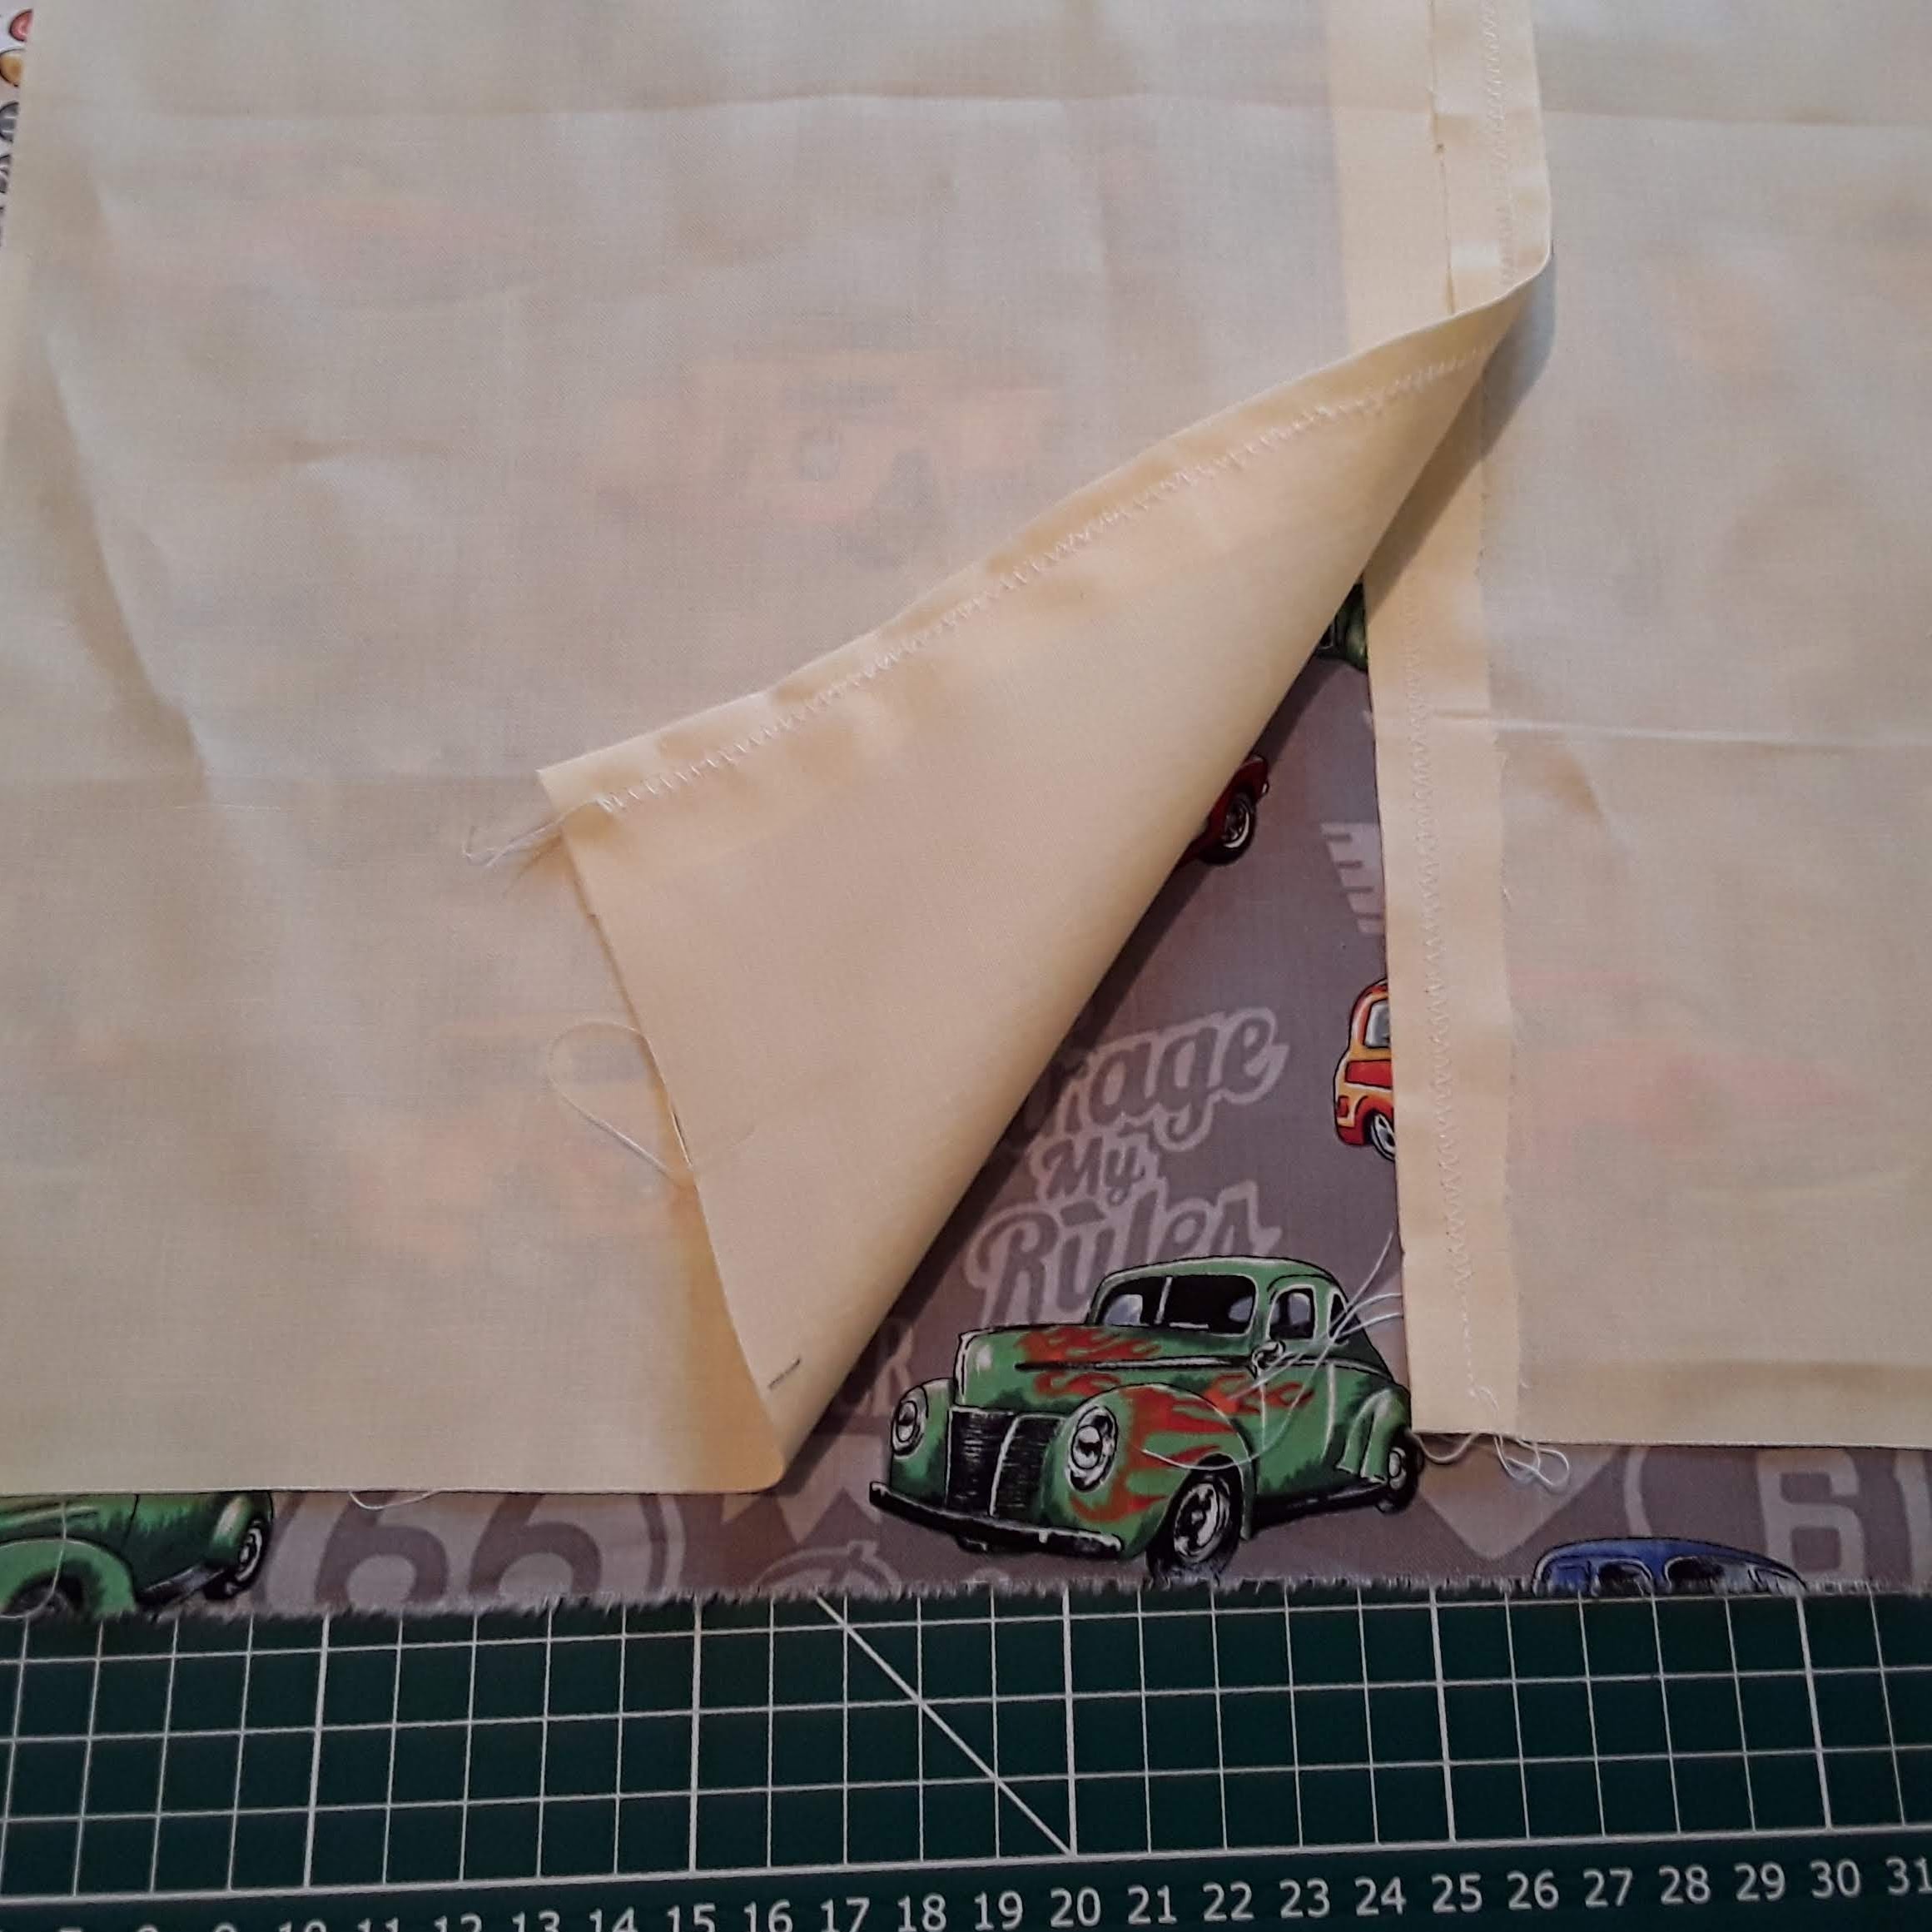
The line you have cut now needs to be hemmed, so pin it on either side and sew down each side. If you have chosen a patterned fabric make sure you sew the wrong sides together. This is the back of your cushion.
Measure your cushion pad. If (for example) it is 43cm square, draw a square on the back of your other fat quarter that measures exactly 43cm on each side. Cut the fabric, leaving a 1cm gap around the pencil line you have just drawn.
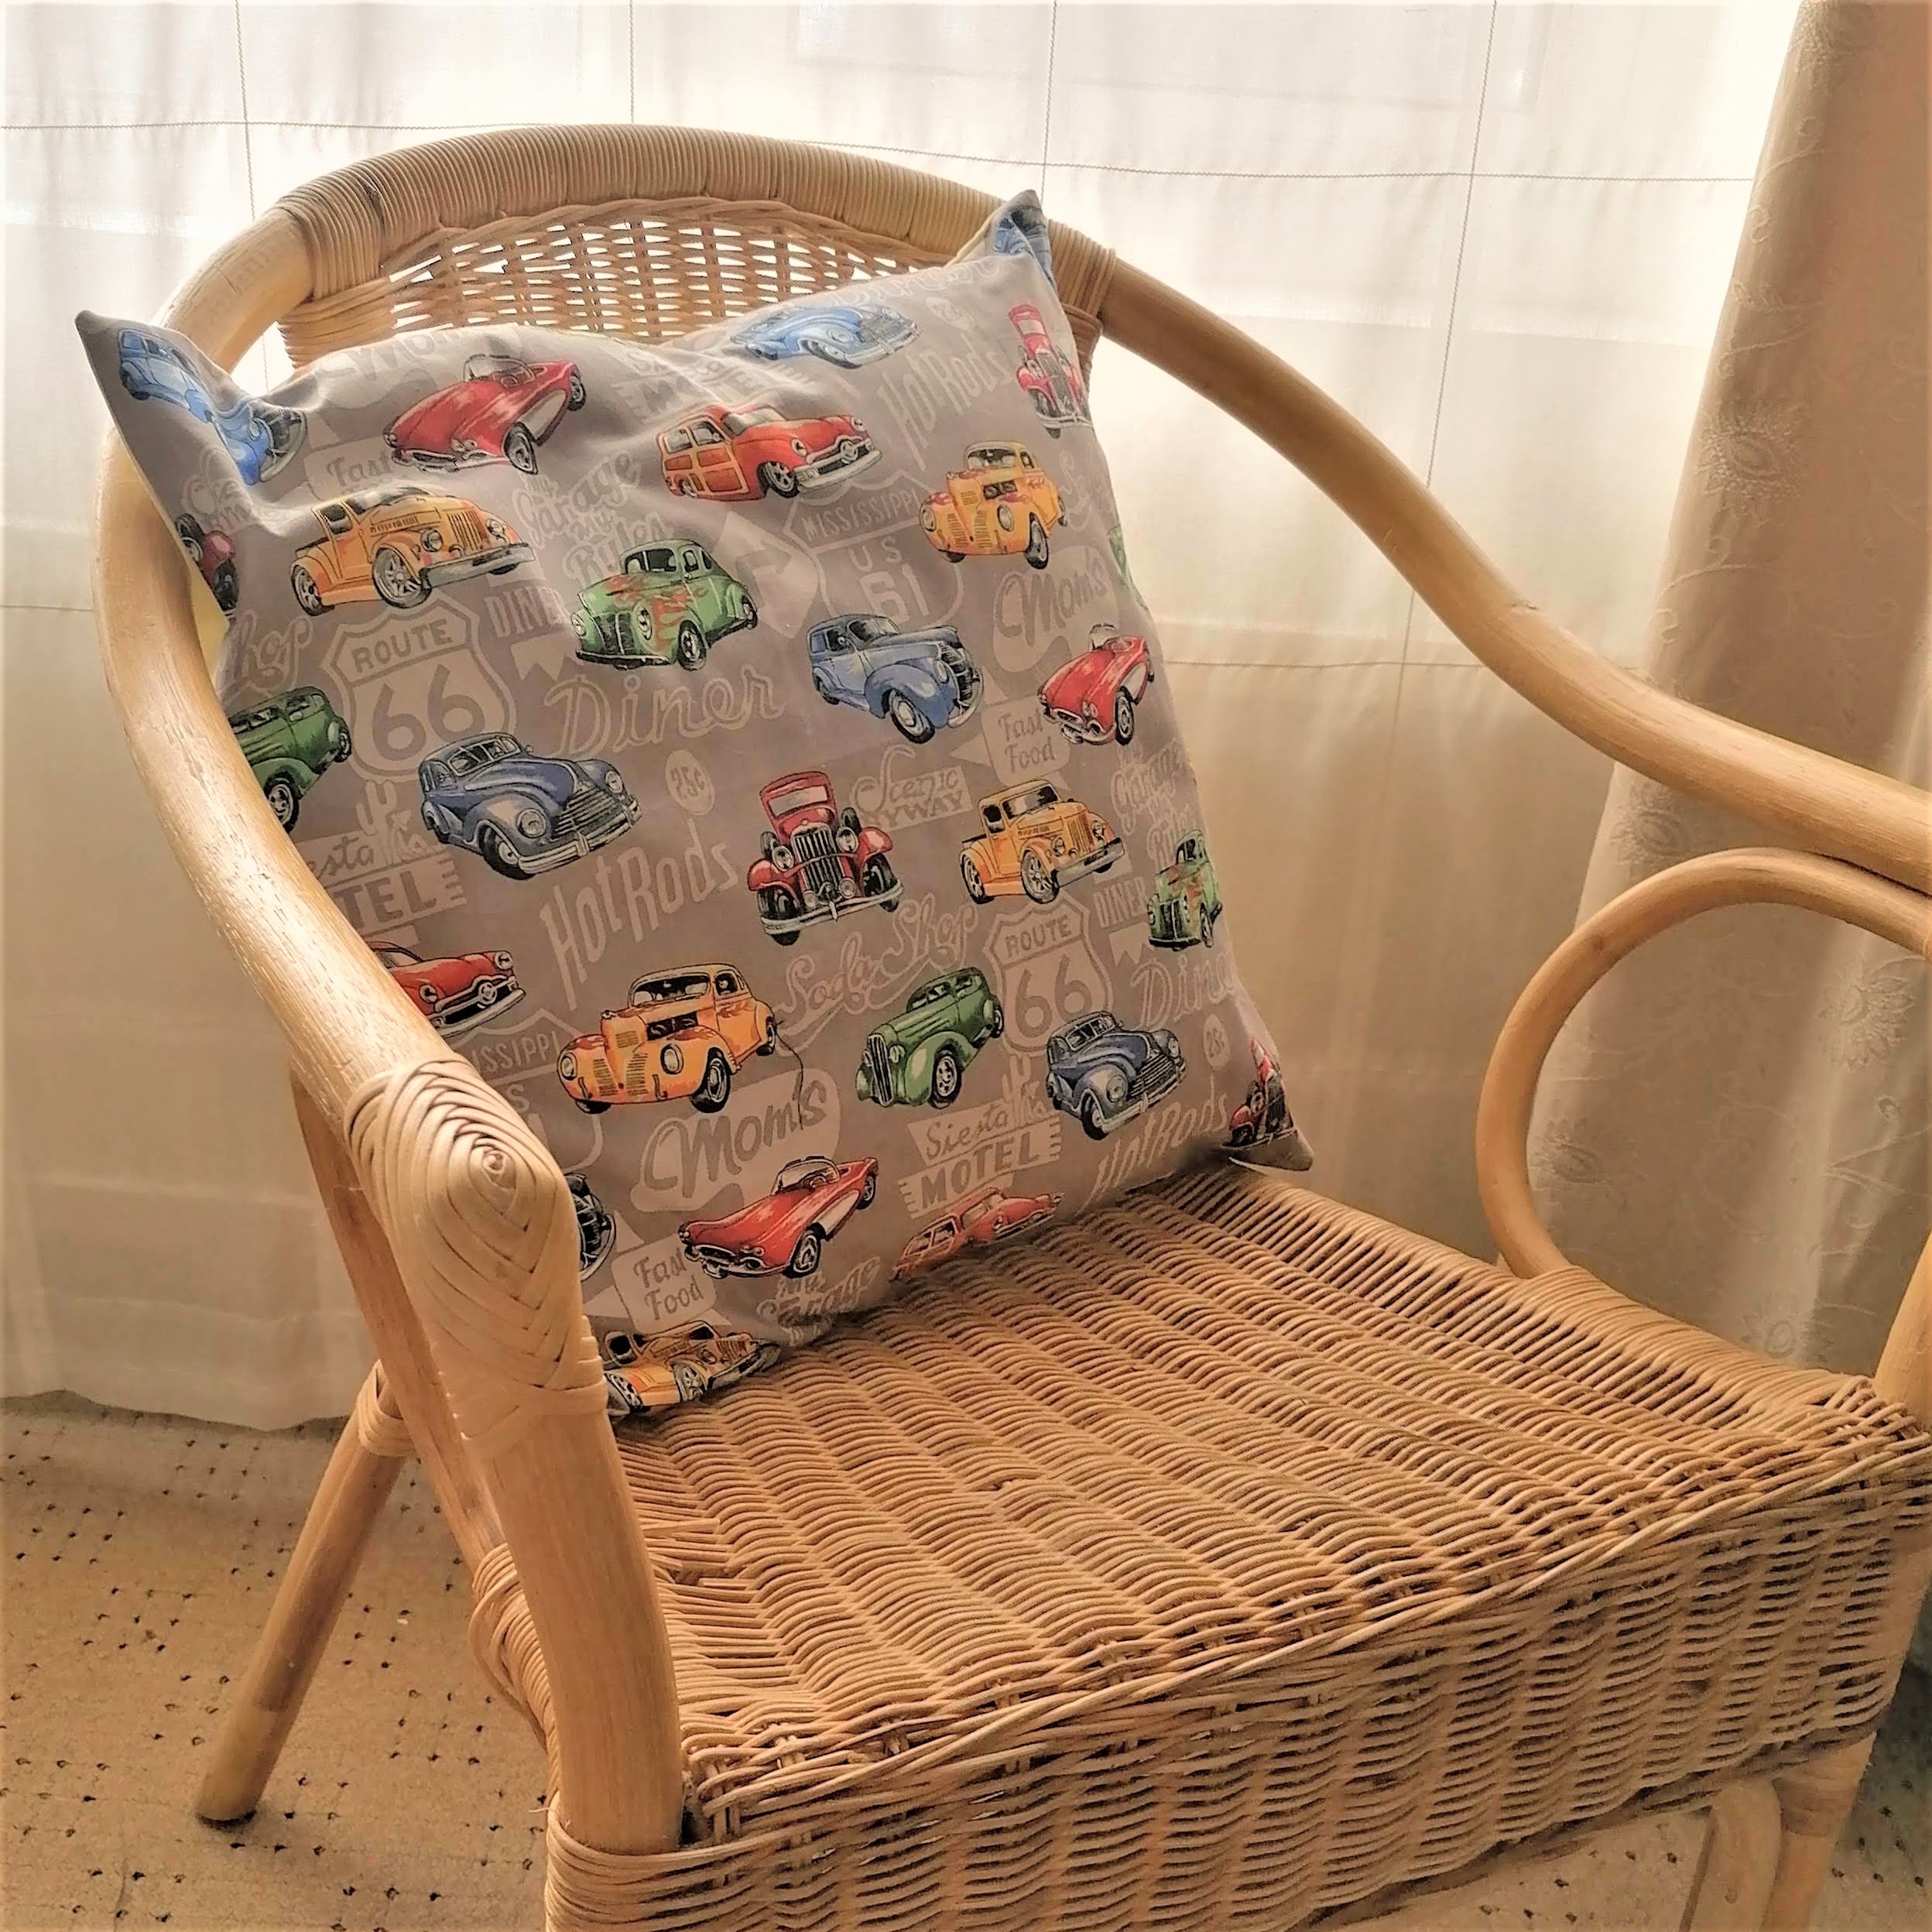
Now lay this front piece on a table with the pattern facing up. For this project I have chosen a fat quarter with vintage cars on it.
Lay the 2 back pieces on top of it with the right sides facing each other. Overlap the fabric, with the two hemmed edges in the middle, (this will be your opening). The overlap should measure approximately 1 inch (5cm). 
Now pin around the edge of your square using the pencil line as a guide.
Sew around all four sides going over the pencil line you drew earlier, and press your nearly complete cushion cover.
Snip off the corners. This will help it lay nicely when you turn it right side out.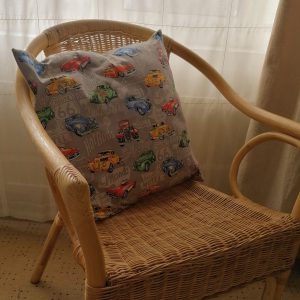
Now turn it right side out, and press again if necessary.
Pop in your cushion pad and voila! A beautiful thing that you can put in your home and show off to visitors.
Congratulations! You just made your first cushion cover. Pat yourself on the back, take a selfie with your cushion cover and show off like mad on social media.
Don’t forget to tag me in! Kettering Sewing Studio | Facebook
Happy Sewing!
Jan x